
Property Services & Maintenance
Smaller specialty trades and property maintenance are handled by the same trusted in-house W-2 team that delivers our large-scale projects.
View All Property Services- Appliance Installation
- Ceiling Fan & Light Fixture Installation
- Commercial Maintenance & Repair Services
- Deck & Pergola Repairs
- Drywall Repairs & Texture Matching
- Exterior Door & Hardware Replacement
- Faucet & Plumbing Fixture Installation
- Fence & Gate Repairs
- Interior Door Installation & Repairs
- Property Turnover & Move-In Ready Services
- Tile Repairs & Grout Restoration
- Toilet & Vanity Installation
- Trim Baseboard & Finish Carpentry Repairs
- TV Mounting & Custom Wall Installations
- Water Damage & Wood Rot Repairs
Toilet & Vanity Installation
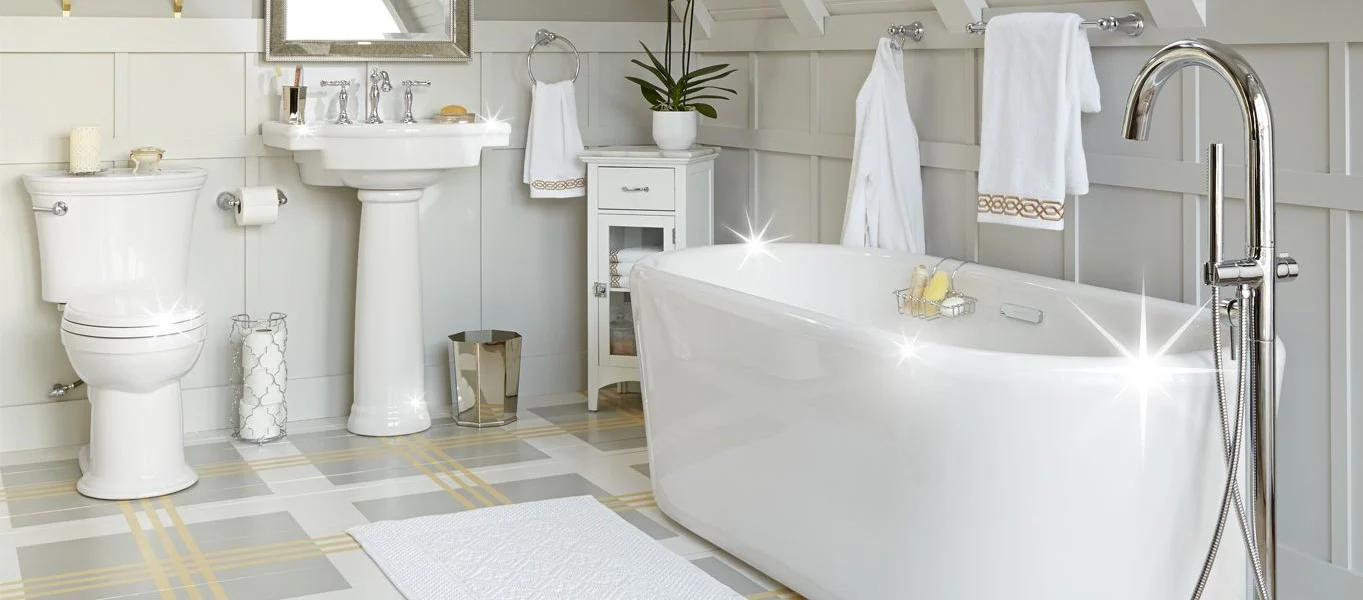
New toilet, vanity, or pedestal sink installed correctly with leak-free connections and a clean finish.
Toilet & Vanity Installation
Toilet and vanity work is one of the most common bathroom upgrades in Utah. Home Ready Group serves Salt Lake City and the Wasatch Front with expert fixture installs. We handle the full scope from removing the old unit to testing every connection. Our crew makes sure nothing leaks when we leave your home.
Why Toilet and Vanity Upgrades Matter
A toilet that rocks on an uneven floor will break its seal over time. A vanity with bad drain fittings will drip inside the cabinet for months. Therefore, proper install prevents water damage and costly repairs.
Modern fixtures use less water and look better. Since style and function go together, a fresh toilet and vanity set lifts your whole bathroom. Because we work on these units daily, we handle surprises fast.
Toilet Installation Process
Removing the Old Toilet
We shut off the water, flush the tank, and take out the mounting bolts. Old wax rings get scraped from both the horn and the flange. We stuff a rag into the open drain to block sewer gas while we work.
This is also the time to check the flange. If it is cracked or sits below the floor level, we fix it before setting the new toilet. A unit bolted to a bad flange will never seal right.
Flange Check and Repair
The flange should sit flush with or just above the finished floor. In many Utah homes, new flooring raises the floor above the old flange. Therefore, the gap makes it hard for a wax ring to seal.
We fix this with a flange ring or full swap based on the damage. Cast iron flanges in older Salt Lake City homes often corrode at the bolt slots. A steel repair ring can restore the mount points without a full swap.
Setting the New Toilet
We dry-fit the toilet first to check for rocking. If the floor is uneven, we shim the base with plastic shims and trim them flush. Because rocking is the top cause of wax ring failure, we fix it before the final set.
For the seal, we use a standard wax ring on flanges at floor level. For flanges below the floor, we use a thick wax ring or a wax-free gasket. Wax-free gaskets work well on heated floors where warmth softens wax over time.
We set the toilet onto the flange bolts and press it down evenly. Then we tighten the nuts to draw the bowl down flat. Since over-tightening cracks the base, we stop as soon as the toilet is snug.
Supply Line and Final Checks
We connect a new braided steel supply line for every install. Braided lines resist bursting far better than old plastic tubes. We turn on the water, let the tank fill, and flush several times. Then we check every joint for drips before we leave.
We caulk around the base of the toilet for a clean look. We leave a small gap at the back so any future leak shows rather than stays trapped. According to plumbing code per the UPC, all connections must hold under full pressure.
Toilet and Vanity Cabinet Installation
Removing the Old Vanity
We take apart the P-trap, supply lines, and any wall screws. If the old vanity was caulked to the wall, we score the caulk to avoid tearing paint. Once it is out, we check the wall and floor for water damage.
Slow leaks under vanities often go unnoticed for years. If we find soft drywall or mold, we fix it before the new unit goes in.
Leveling and Anchoring
A vanity must be level for doors and drawers to align. We check the floor with a level and shim as needed. Then we secure the unit to wall studs for a solid hold.
We always anchor into studs, not just drywall. Because a loaded vanity with a stone top is heavy, toggle bolts alone will pull out over time. Therefore, proper backing matters for every install.
Drain and Supply Hookups
We connect the drain with a new P-trap using slip-joint fittings. The trap must hold proper slope to drain fully and block sewer gas. Supply lines get new shut-off valves if the old ones are seized.
Quarter-turn ball valves are the standard swap. They are simple and easy to use in an urgent situation. We test all joints under pressure before we call the job done.
Countertop and Sink
For vanities with built-in tops, we set the top and check level. For separate sinks, we install the sink and faucet first. Then we connect supply lines, install the drain, and test for leaks.
Pedestal Sink Installation
Pedestal sinks need a different approach since there is no cabinet to hide pipes. All supply lines and drain parts are visible. Therefore, the work must be clean and precise.
Mounting the Sink
The sink bowl mounts to a bracket or blocking in the wall. We locate studs and install a bracket rated for the weight. If the wall lacks blocking, we add solid wood between studs first.
The pedestal base is mainly for looks. It does not carry the full load. We set the sink onto both the pedestal and the wall bracket, then lag into the blocking.
Exposed Plumbing
Because pipes show below a pedestal sink, we use chrome or nickel supply tubes. Also, P-trap parts match the finish of the sink. We install rigid tubes with clean wall plates for a polished look.
Schedule Your Toilet and Vanity Installation
Home Ready Group handles single-fixture swaps and full bathroom upgrades. Our toilet and vanity work pairs well with faucet installation projects. If you have a new fixture ready or need help choosing, contact us to schedule. We serve homeowners and managers across the Wasatch Front in Utah.
Questions about toilets and vanities.
Most standard toilet replacements take one to two hours. We set a fresh seal, level and anchor the bowl, and check for rocking and leaks.
Yes. We set the cabinet level, mount the top, hook up the faucet and drain, and seal to the wall. One crew, one trip.
Common in older homes. We shim and scribe so the vanity sits flat and the toilet does not rock. That is part of a proper install.
Minor moves, yes. Relocating a drain or supply more than a few inches opens up the floor or wall, so we scope and price that separately.
Have a question we did not cover here? Read our full FAQ.
Your project in Utah
Let’s discuss your project. We respond within 48 hours. Prefer to talk now? Call (385) 515-6688.